Dell Precision T3610 Workstation Hackintosh

Note: You’re nothing but an a-hole if you sell EFI folder (config) that’s readily available for free. — stole this from mighil because it’s right on
If this helps you, thank mighil and maldon since they did the hard work (and the many others who gave us Clover, OpenCore, kexts, etc)!
This is based on his X79 Catalina guide. Before finding this I had a usable machine but performance wasn’t great. I improved things a bit by switching to OpenCore; the X79 guide took me the rest of the way.
Budget Dell Precision T3610 Xeon Build (~$350)
Clover and OpenCore EFI folders required for a Dell Precision T3610 hackintosh running macOS Catalina 10.15.5.
System Specs

| Part | Model Number |
|---|---|
| CPU | |
| PSU | |
| Dell 80+ Gold 685W | |
| Motherboard | Dell 09M8Y8 Revision 3 |
| BIOS | A19 |
| Chipset | Intel C602/X79 |
| Memory | Micron 8GB DDR3-1333MHz ECC x 4 (PN: 18KSF1G72PDZ-1G4E) |
| Samsung 8GB DDR3-1333MHz ECC x 4 (PN: M393B1K70DH0-CK0) | |
| GPU | |
| MSI RX 570 GAMING X 8GB – slot 1 | |
| Display Cable | Rankie 4k DP to HDMI cable (CableMatters adapter didn’t work well) |
| Storage | PNY CS900 240GB SSD (Revision CS900J13) x2 |
| Bluetooth | ASUS USB-BT400 (Firmware: v14 c4096) |
| Ethernet | Intel 82579LM (onboard) |
| USB | Renesas uPD720201 USB 3.0 Host Controller |
| Inateck KT4006 2-port PCI-E USB 3.0 Express Card | |
| Sound | Realtek ALC3220 (ALC280) (Layout ID: 3) |
| Keyboard | |
| Logitech MX Keys (connected via Bluetooth) | |
| Mouse | Logitech M590 (connected using Logitech Unified receiver) |
| Bootloader |
BIOS Configuration
You can find screenshots of the BIOS configuration options I used in Screenshots/BIOS.
- Reset to optimized defaults
- Secure Boot disabled
- Enable VT for Direct I/O disabled (Virtualization Support can be enabled if you need it for Docker, etc)
- Disks set to AHCI mode (default is RAID)
- Fast Boot set to ‘thorough’
- CPU XD support enabled
- TPM disabled
- Legacy ROM disabled (required for the Quadro but not for the Radeon)
Readme
- Read everything first and be careful
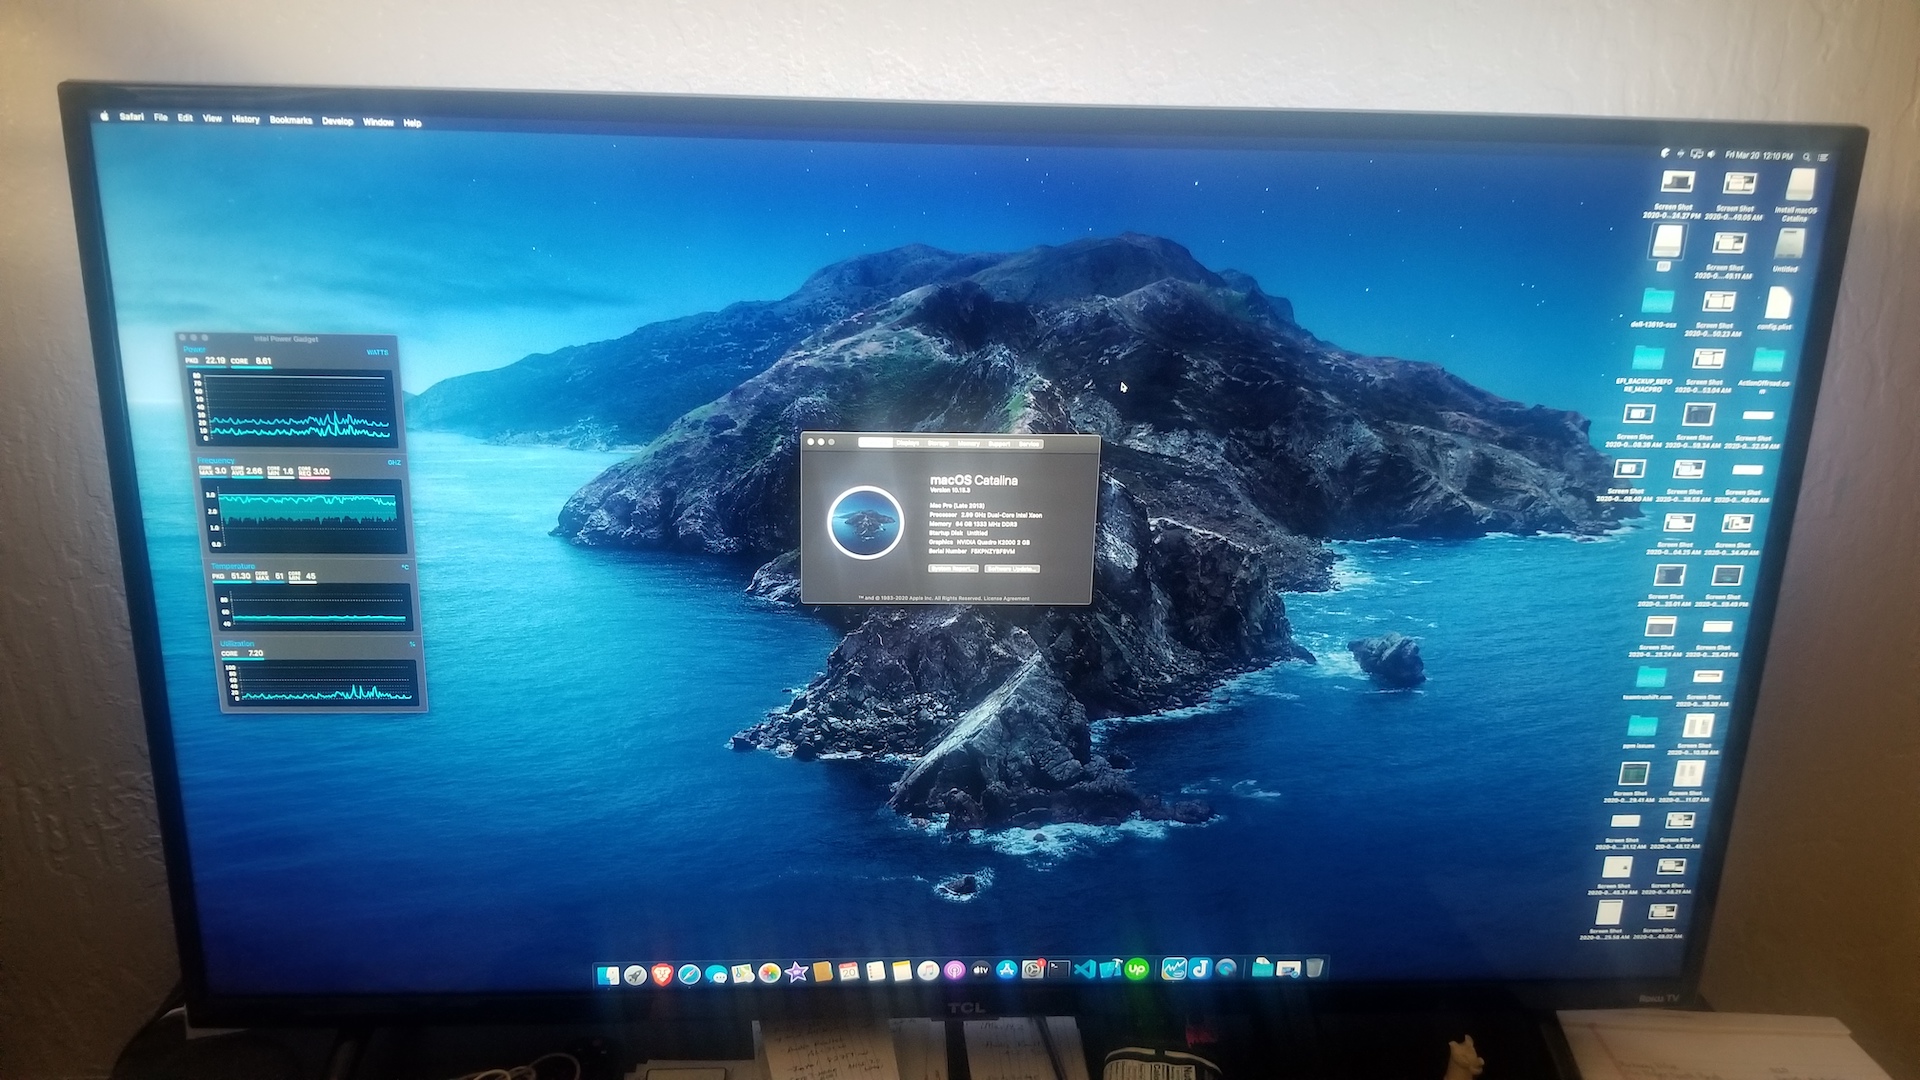
- Tested on macOS Catalina 10.15.5 (vanilla)
Differences from the X79 guide
- OpenCore
Before You Proceed
You should modify the EFI (a lot) if your system specs are different. I use the settings for my motherboard. My system has a Renesas USB 3.0 controller which is a pain in the ass to get to work (have yet to figure that out but supposedly it’s possible). Chances are you’ll have a different CPU at the very least which may require some changes. If you’re not using an AMD GPU, expect a bunch of changes to be required, too. You’ll also need to add SMBIOS information (serial number, board serial number, UUID) as they’ve been removed from my config.plist to protect my Apple ID.
If you’re using the Clover EFI, you shouldn’t need to change much beyond adding SMBIOS details (serial number, etc).
If you’re using the OpenCore EFI, you’ll need to change at least the following:
- SMBIOS details (serial number, MLB, UUID)
- CPU power management info for YOUR processor (use Piker Alpha’s SSDT generator) to create appropriate power management settings for your hardware
- USB mapping; I remove EUSB/USBE using the STA method in an SSDT rather than mapping since my USB injector kext that worked with Clover didn’t work with OpenCore
What Does Work
- App Store
- iMessage (works after SMBIOS edits)
- Quicktime (including screen recording)
- DRM (FairPlay 1.x/2.x/3.x/4.x)
- Apple TV+
- Amazon Prime Video
- Netflix
- ethernet (onboard)
- bluetooth (added via USB dongle)
- GPU
- sound (Intel HDA and Radeon HDMI)
- 4k display
- Docker
- USB 3.0 (Inateck PCI-e card doesn’t show up but works)
- CPU Power Management

USB Mapping
NOTE: I stopped using the USB mapping in favor of an SSDT and this section no longer applies.

| # | Port Name |
|---|---|
| 1 | HP12 |
| 2 | HP11 |
| 3 | HP13 |
| 4 | HP16 |
| 5 | HP15 |
| 6 | unsupported |
| 7 | unsupported |
| 8 | unsupported |
| 9 | HP24 |
I recommend that you disable USB 3.0 ports in the BIOS and then use the USB injector kext from this repo or create your own using Hackintool. The left-most port on the front panel will no longer work and the three on the bottom rear will no longer work. I was unable to get them to work properly with USB 3.0 enabled as the Renesas drivers don’t work on Catalina.
If you add the Inateck USB 3.0 controller card like I did it will work OOB but will not show up as available USB ports in Hackintool or USBMap tool. The controller shows up as a PCIe device rather than a USB controller. Don’t be alarmed by this as it will work correctly anyway.
macOS Updates
- 10.15.3 -> 10.15.4 worked without any issues
- 10.15.4 supplemental update worked without any issues (applied 13-May-2020)
- 10.15.5 update worked without any issues (applied 14-June-2020); updated Lilu/WEG and then Clover first
What Doesn’t Work (or hasn’t been tested)
- USB 3.0 (XHCI shows up in IOReg but requires work to get Renesas controller working)
- Sidecar
- sleep
Geek Bench

How to create a bootable macOS Catalina USB install drive? (on MacOS)
Refer to this guide from 9to5mac
RX 570 Installation Gotchas
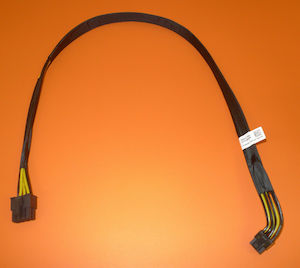
- It’s not likely to work if you have the 425W PSU, so make sure to upgrade to the 685W version at least. I paid $20 for the 685W PSU upgrade and the 8-pin PCI express power cable together at a local surplus dealer.
- The side panel won’t close until you remove the brace with the rubber strip beneath the latch mechanism.
- You’ll probably want to get a PCI express GPU power cable with a 90 degree plug so you have more clearance between the side panel and the cable.
- You’ll either need to get the OEM Dell GPU power cable from the T76XX series or if you’re like me (single CPU motherboard in the dual CPU case) then you can use an EPS to PCI express cable to power the GPU. I used the 8-pin to 8-pin OEM Dell cable (Dell PN: 8RFPM) but also bought a Supermicro EPS to 8-pin PCI express GPU cable just in case.
- If you used legacy mode in your BIOS for a Quadro, switching it to UEFI-only makes things look better with the Radeon.